How To Write a Post
Hello, Fellow Stats Blogger!
Say one desires to post to this venerable blog. How would you do that?
Step 1:
Fork the repo:
Go to github.com/nstrayer/nashvilleBioStats and fork the repository (upper right corner).

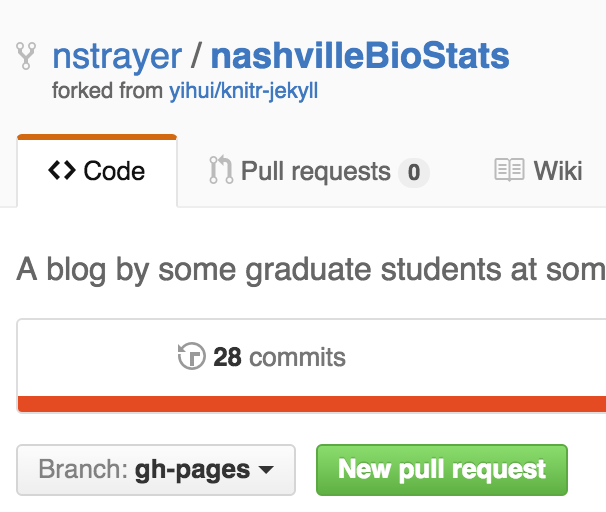
Once you have the repo forked you should be taken to a github page that looks approximately like the photo above. From here, copy the url in the “HTTPS” box and in the command line run: git clone <yourURL>.
Now get into the newly deposited repository (cd nashvilleBioStats). Once inside of this repo really only one thing matters and that is the _source directory. If you navigate inside of it you will see that there are a bunch of .Rmd files in it. This is where the magic happens.
Step 2:
Make a new post:
At this point you could just generate a new .Rmd in anyway you desire, but for the sake of sanity I would suggest copying an existing one in the _source/ directory (note: all markdown files need to be in the _source directory) as the header is a tad bit different than what you probably have used before. (Alternatively you could just start from scratch and make sure to copy in the top of an already used file.)
File Naming:
This is important. The name of the file you use helps the blog know how to sort it. You must name the file in the format year-month-day-postTitle.Rmd.
For example: if I were to create a simple post I would do the following in the terminal.
cd nashvilleBioStats/_source #get into directory
cp 2015-12-19-howTo.Rmd 2015-12-20-newPost.Rmd #make a new post
rStudio 2015-12-20-newPost.Rmd #open it in rstudio
From here make sure to edit the yaml header to fit your new post. E.G.
---
layout: post
title:  "My New Post Title"
author: "William Sealy Gosset"
categories: [jekyll, rstats]
tags: [Awesome Stats, Fun Stuff, biostats is best stats]
desc: "This is the text that shows up as a preview on the home page."
---
Now just write or paste your awesome code and/or math as you would in any other RMarkdown document…
awesomeData = rnorm(100)
hist(awesomeData)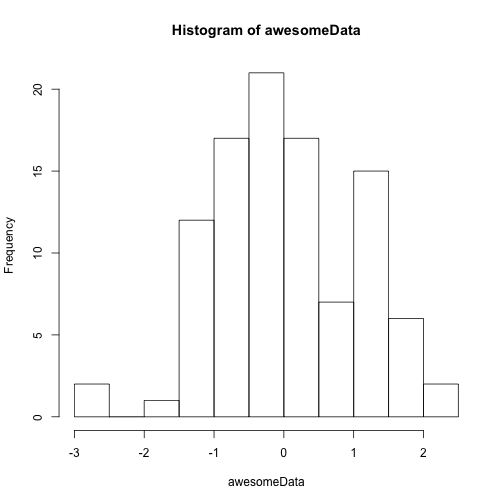
Step 3:
Getting the right libraries:
For all this we need two libraries, servr and knitr. You already probably have knitr but it doesnt hurt to make sure you have the latest version from cran.
install.packages(c("servr", "knitr"), repos = "http://cran.rstudio.com")Converting:
Now, in the r console, make sure that your current directory is the one for the blog.
setwd("/path/to/your/repo")Now simply run
servr::jekyll()This should compile all your .Rmd files from _source/ into .md files in _posts. It will also set up a local server that will host your files and pop them up in the plot viewing pane in rStudio. If everything went right you will see your posts title in the list of posts!
Step 4:
Push changes to your github repo:
Now that your stuff is all set locally it’s time to put it on the web.
Simply push your new post to github as you would any other code…
git add *
git commit -m "I'm adding a super cool new post."
git push origin gh-pages
Note we are pushing to the branch gh-pages and not master. This branch should already exist from your fork. This is the branch that github uses to host websites.
Send a pull request:
Now that you have succesfully pushed your changes to your github it’s time to merge them with the main code branch:
Navigate back to my version of the code and click the “New pull request” button.
This will lead you to a screen that looks like this. (Note that the left side should be “nstrayer/…” and not “yihui/…”).
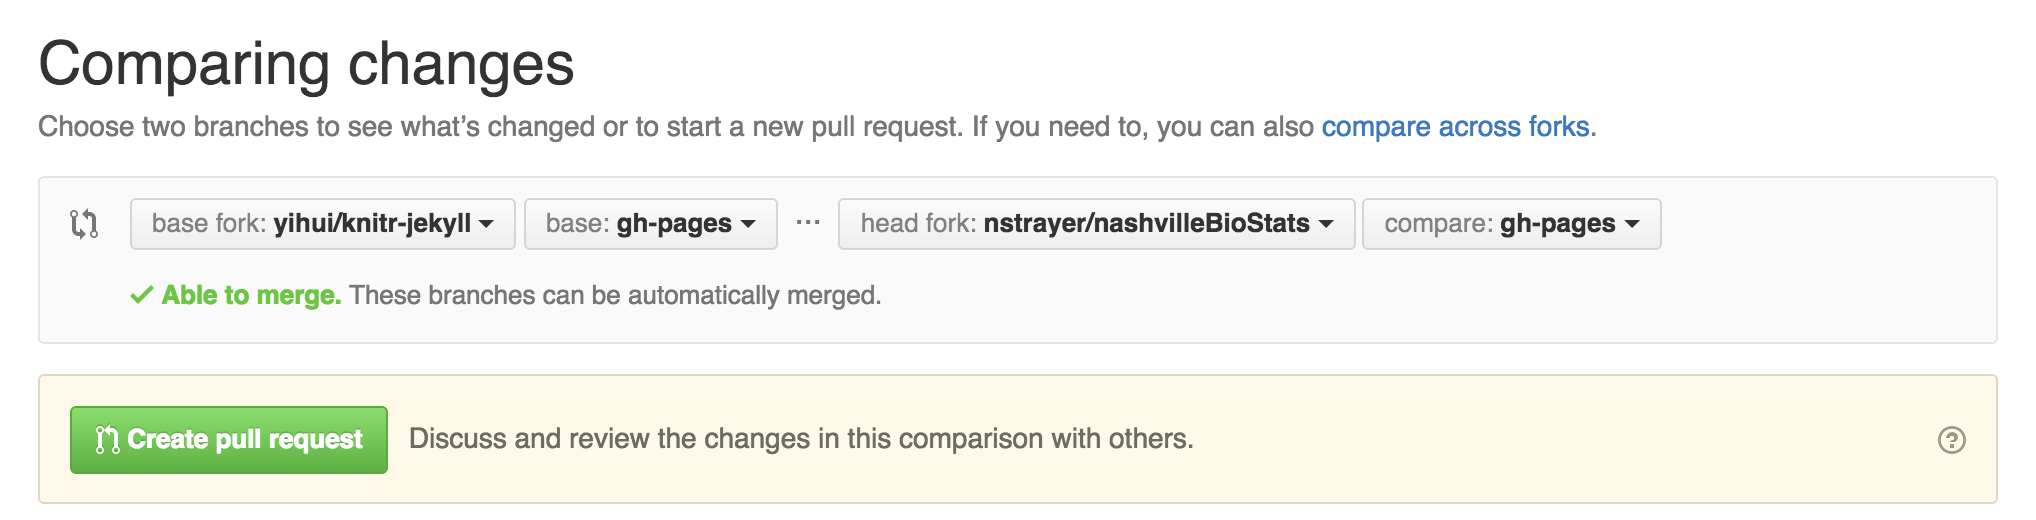
As long as you just created modified your single markdown file there should be no conflicts and you’ll get a “Able to merge” message as you see above. Press “Create pull request” and follow through with the buttons to press, filling in comment boxes as you see neccesary.
After this I will get a message that you are submitting a new pull request, I can then review it, offering comments or asking you to make changes. After a vigerous and thoughtful discussion I will accept your pull request and merge your changes into my branch. Then boom, new blog post on the main page.